
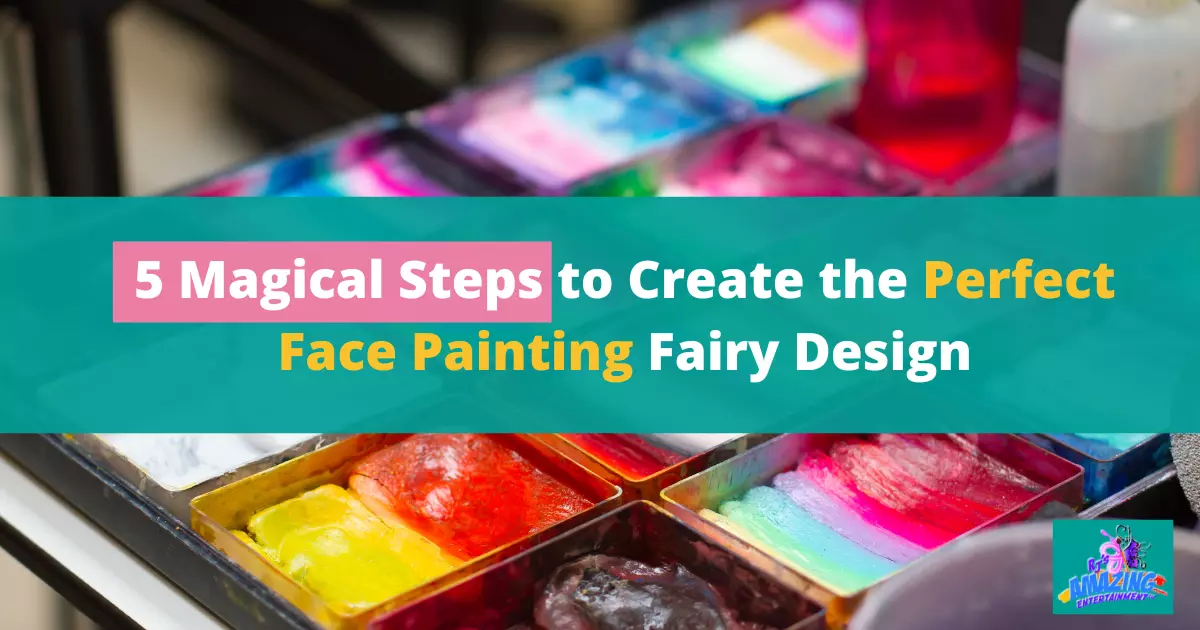
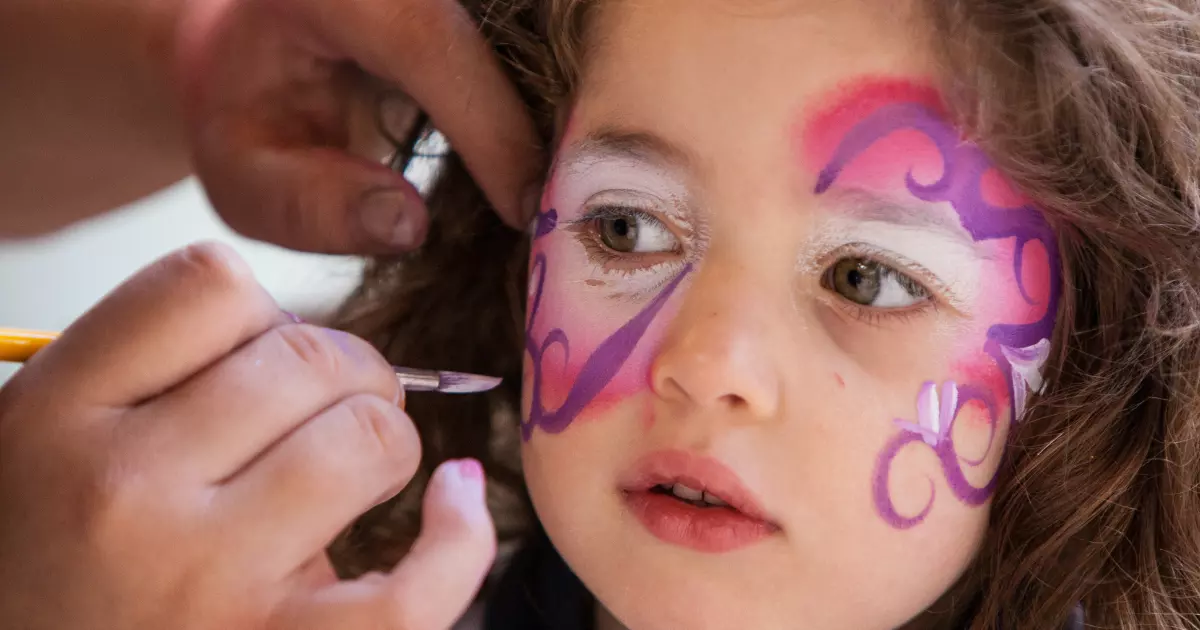
Face painting fairy designs have captured the imaginations of kids and adults alike, enchanting girls and boys at events ranging from birthday parties to Halloween festivities. Vibrant colours and delicate flowers create a magical transformation in this whimsical world. However, achieving the perfect face-painting fairy design that stands out and delights the wearer requires skill, attention to detail, and creativity.
RJ’s Amazing Entertainment will guide you through the 5 magical steps to help you create captivating face paint designs, whether it’s for your child’s special day or a fun-filled event. From preparing the skin and choosing the right face paints to adding intricate details and complete the look, you’ll have everything you need to bring a touch of enchantment to cheeks and smiles everywhere. So let’s dive in and explore the art of face painting fairy designs and make your next event even more unforgettable!
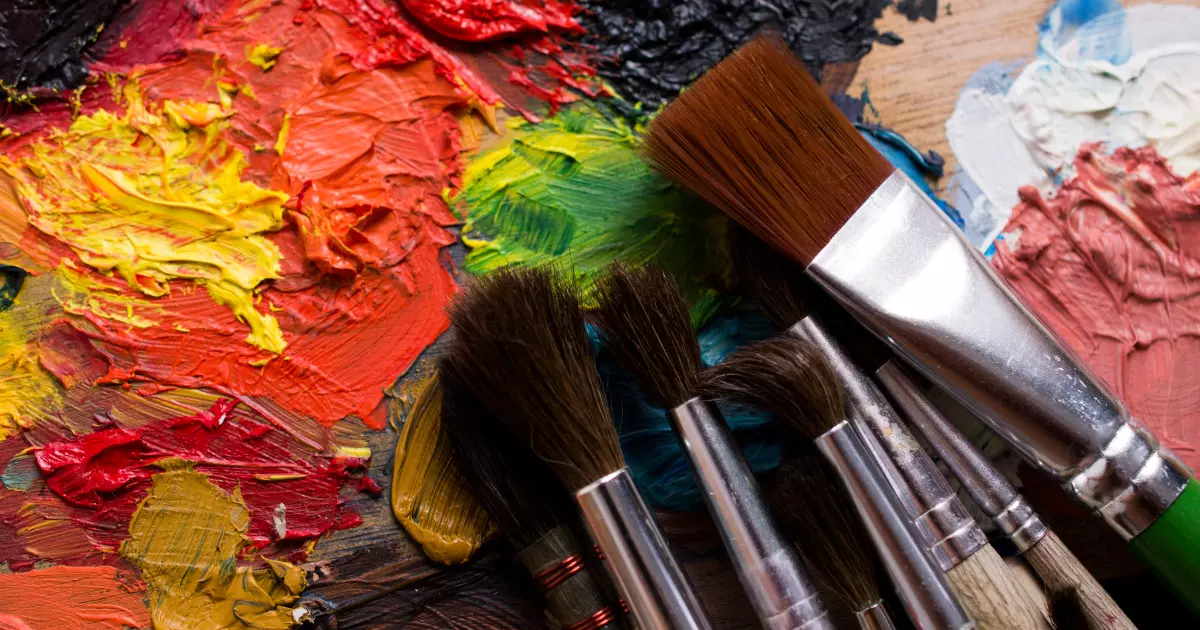
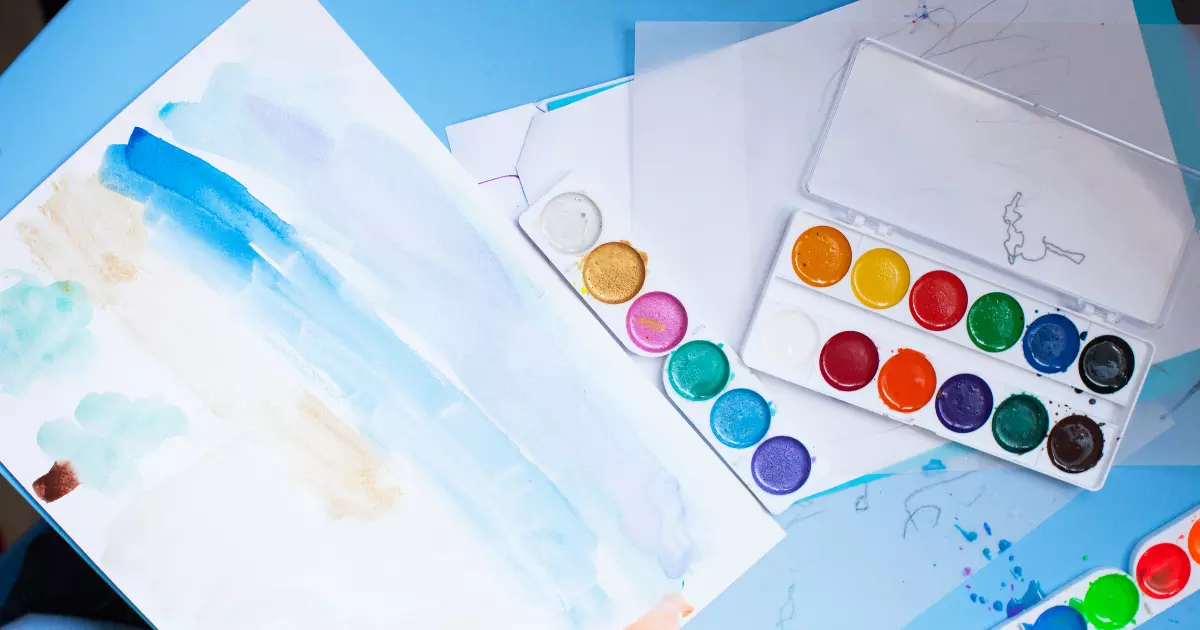
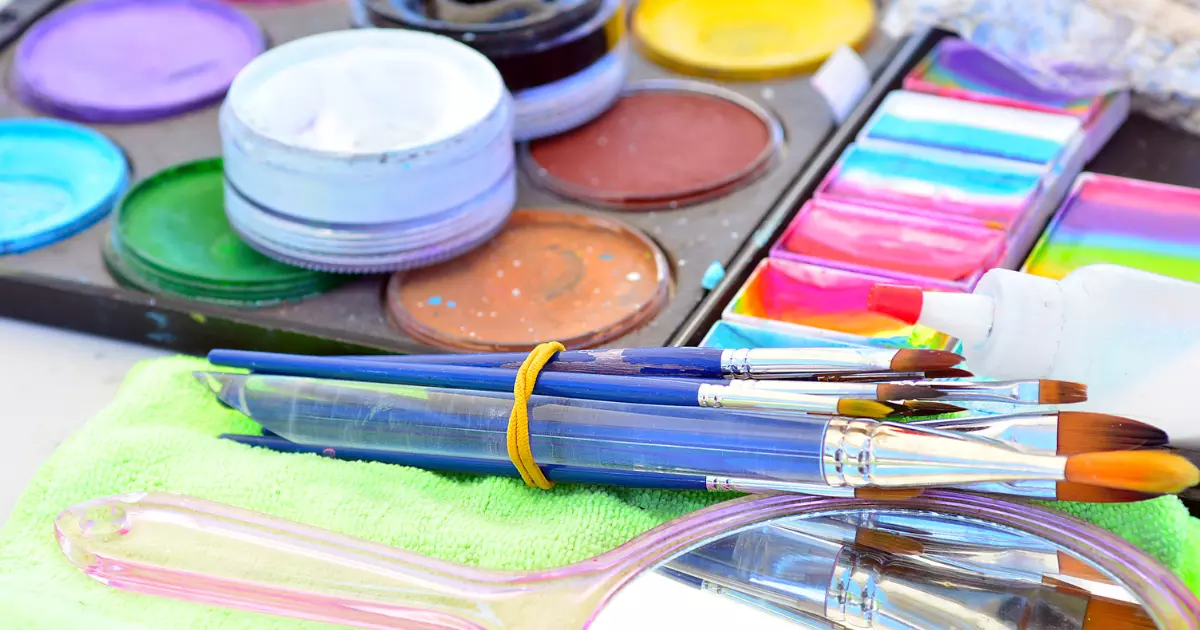
Step 1: Gather Your Face Painting Materials
Essential tools for face painting fairy designs
Creating a magical face-painting fairy design begins with having the right tools on hand. Start by assembling your face paint collection, including various colors to bring your fairies to life. Make sure you have white face paint, as it’s crucial for many designs. Additionally, include glitter and rainbow colors to add sparkle and whimsy to your creation.
Importance of choosing quality paints
The quality of your face paints plays a significant role in the final outcome of your design. Opt for thick, consistent paints, allowing for smooth and even coverage. High-quality paints will also make blending and shading easier, resulting in a more professional-looking design. Remember that the person wearing your face painting fairy design will appreciate vibrant colors that last.
Selecting the right thin brush for intricate details
A small brush is your best friend when drawing the delicate details that make your face painting fairy truly enchanting. Browse your local art supply store or online shops to find the perfect thin brush. Look for brushes with a fine tip that can handle your design’s intricacies and a comfortable handle for steady control. Having a few different sizes on your table will ensure you can cover every detail precisely.
Step 2: Preparing the Face
Cleaning and Prepping the Skin for Face Painting
Before applying face paint, ensuring the skin is clean and ready is crucial. Start by gently cleansing the face with mild soap and water, removing any dirt or oil that could interfere with the paint’s ability to adhere. Pat the skin dry with a soft towel, and consider applying a light, oil-free moisturizer to create a smooth canvas for your face-painting fairy masterpiece. With a clean and hydrated face, your colors will glide on smoothly, making it easier to draw intricate designs and shade different areas of the face.
Tips for Working with Different Skin Types
Regarding face painting, not all skin types are the same. Some people may have sensitive or allergy-prone skin, while others may be more resistant to the effects of the paint. Here are a few tips for working with various skin types:
Sensitive Skin
Opt for hypoallergenic face paint, and always conduct a patch test on a small area of the skin to check for any adverse reactions before diving into the full design. Be gentle when applying and removing the paint, as rough handling could cause irritation.
Oily Skin
Use water-based face paint, less likely to smudge or slide on oily skin. Additionally, you can apply a light dusting of translucent powder to the face before painting to help absorb excess oil and keep your design in place.
Dry Skin
As mentioned earlier, applying a light, oil-free moisturizer before face painting can help create a smooth canvas. Choose paints with a creamy consistency that won’t further dry out the skin.
Step 3: Sketching the Face Painting Fairy Design
Outline the Fairy Design Using a Light-Colored Face Paint
Before diving into the magical world of colors and sparkle, it’s crucial to have a clear vision of your fairy design. Start by using light-colored face paint to gently outline the main elements of your design. This will help you visualize the final look and make adjustments as needed. Light shades such as white paint or pastel colours work best for this step since they blend seamlessly with the vibrant colours you’ll apply later.
Tips for Creating a Balanced and Symmetrical Design
- Outer Edges: Pay close attention to the outer edges when outlining your design. These are the foundations of your fairy’s wings, crown, and other elements, so keep them even and balanced for a symmetrical look.
- Inner Edges: While the outer edges create structure, the inner edges add depth and detail to your face painting fairy design. Use a light touch to sketch the patterns, swirls, and shapes that will bring your fairy to life.
- Middle: To achieve a harmonious design, focus on the middle of the face. Align key elements such as the eyebrows and the nose bridge to ensure that both sides are equally balanced.
- Swirls: Swirls add a magical touch to any face-painting fairy design. When creating swirls, start from the inner edge and work your way out to avoid overcrowding the design.
- Eyebrows: Use the natural curve of the eyebrows as a guide for your design. This will help create a harmonious flow that complements the face’s features while adding a touch of enchantment.
- Crown: If you choose to include a crown, ensure it sits comfortably on the forehead or temple. Use soft curves and delicate details for a regal yet whimsical effect.
- Temple: When designing around the temple, be mindful of the delicate skin in this area. Use light pressure and soft strokes to ensure a comfortable experience for the person you’re painting.
Step 4: Paint the Base Colors
Tips for applying the base colors for the face painting fairy design
To create mesmerizing fairy face paint, it’s essential to apply the base colors correctly. Start by choosing the primary color for your fairy. Fairies are often associated with vibrant hues, so don’t be afraid to have some fun with your palette.
Using a thick brush, pick up your chosen color and begin painting the main areas of the design. For example, you might use a soft pink or purple for the cheeks or a shimmering blue for the eyes. Use white face paint as a base layer if your chosen color isn’t opaque enough. This will help the colors pop and create a more professional look.
Techniques for blending and layering colors
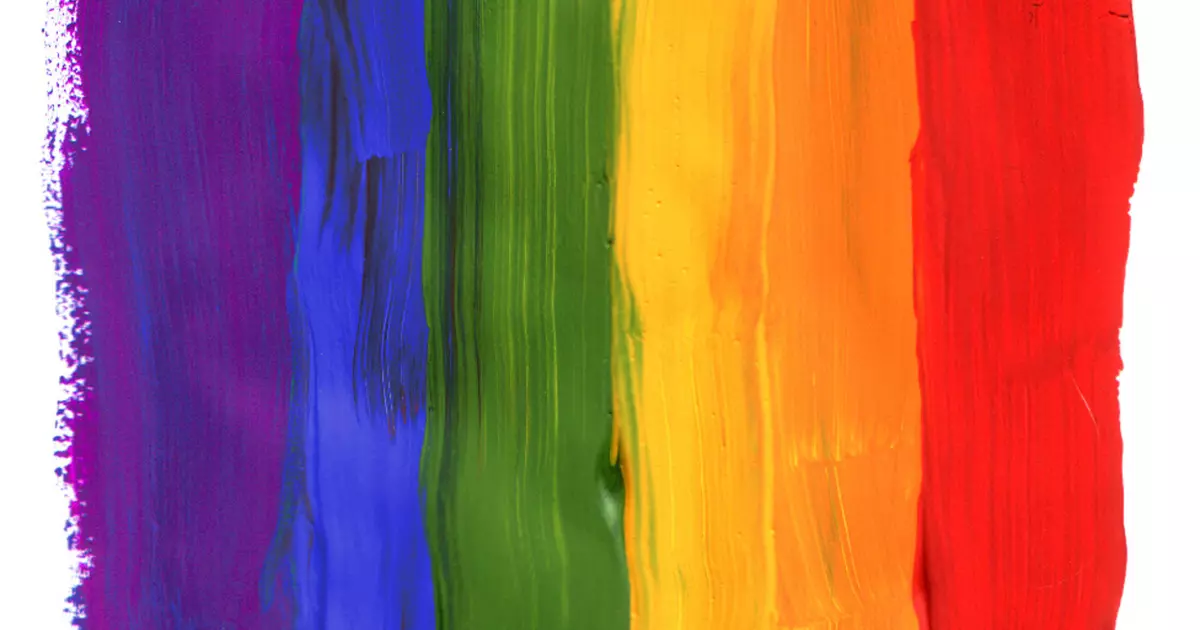
Blending and layering are crucial for achieving a stunning fairy face paint design that captures the essence of these magical creatures. Here are some tips to help you create a whimsical, rainbow-like effect:
Shade
Start by applying a lighter shade of your primary color to the areas where you want the most emphasis. This might be the cheeks, forehead, or around the eyes.
Dab
Next, gently dab a slightly darker hue on the outer edges of the lighter shade. Make sure to blend the colors seamlessly, with no harsh lines. Continue adding more color, gradually transitioning to darker shades, until you achieve the desired gradient effect.
Rainbow
Choose two or three complementary colors to create a captivating rainbow effect. Apply the lightest shade first, then layer the darker shades on top, blending as you go. Remember to wait for each layer to dry before adding the next one to prevent smudging or muddying the colors.
Fun
Feel free to get creative with your color choices. Face painting is about having fun and expressing yourself, so mix and match different hues to create a unique design that captures the magic of fairies.
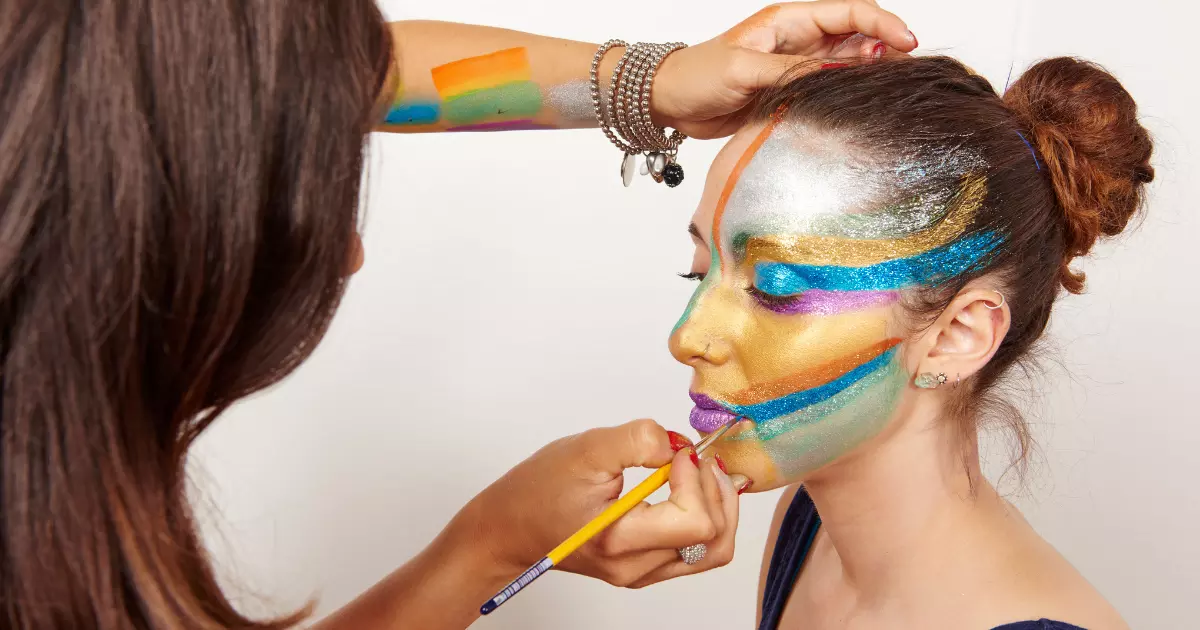
Step 5: Adding Color, Highlights, and Details
Enhancing the face painting fairy design with glitter, sparkles, and small details
In this step, you’ll bring your fairy face paint design to life by adding vibrant colors, highlights, and intricate details. Start by choosing a color palette that complements your base design. Use a fine brush to apply glitter or sparkles.
Remember that adding small details can make your design stand out. For instance, you can paint delicate flower around the girls’ faces or create a trail of stardust.
Tips for creating realistic wings, flowers, and other elements
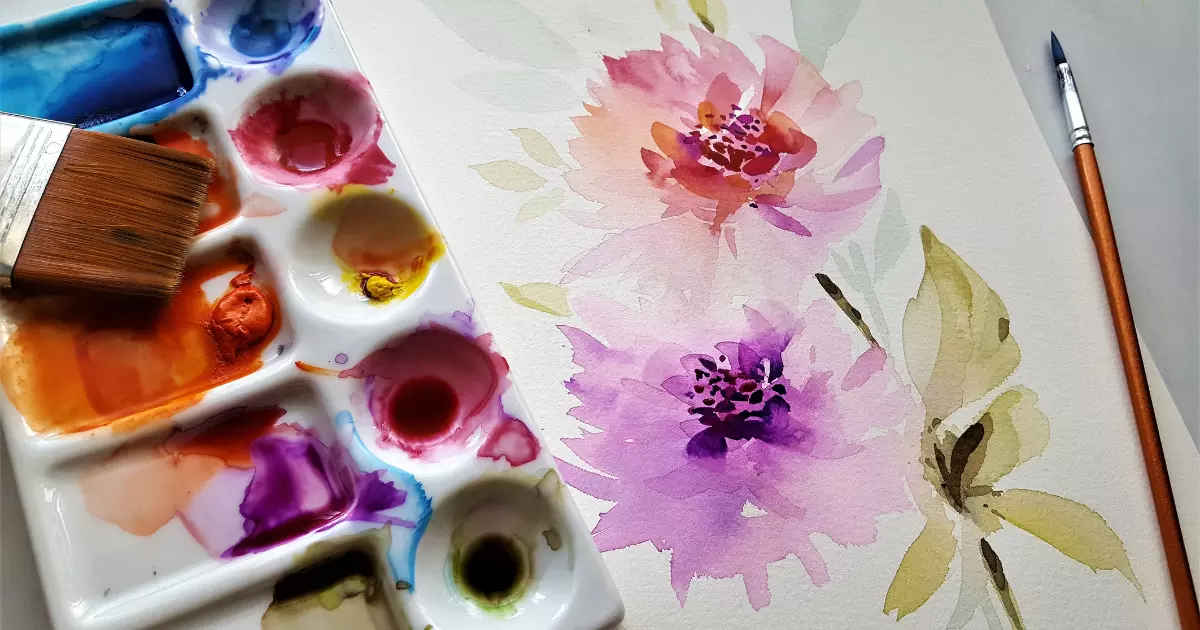
Petals
Start by outlining the shape with a thin brush when painting flower petals. Then, fill in the petals with colour using a slightly thicker brush. To give the flowers a natural appearance, blend the colors by applying a lighter shade at the center and a darker one towards the edges.
Flowers
To create a cluster of flowers, paint several petals around a central point, layering them to achieve depth. You can add small dots or lines to represent the flower’s center.
Other elements
Add a butterfly, leaves, or vines to complete your fairy face painting design. Outline these elements using a fine brush before filling them in with color. Remember to blend shades and add highlights to create a more realistic effect.
Conclusion
Remember, practice makes perfect, and the more you experiment with different designs and techniques, the better your face-painting skills will become. Remember to capture your creations by snapping photos or recording a video, and share them with your friends and family to showcase your newfound talents.
RJ’s Amazing Entertainment Wishes You Success
As you continue to explore the enchanting world of face painting, know that RJ’s Amazing Entertainment is here to support you every step of the way. For your next event, consider choosing our professional face painters to bring a touch of magic to the occasion. We also offer other fantastic services, such as henna tattoos, balloon twisting, caricatures, and more. Contact RJ’s Amazing Entertainment today to ensure your event is one to remember!